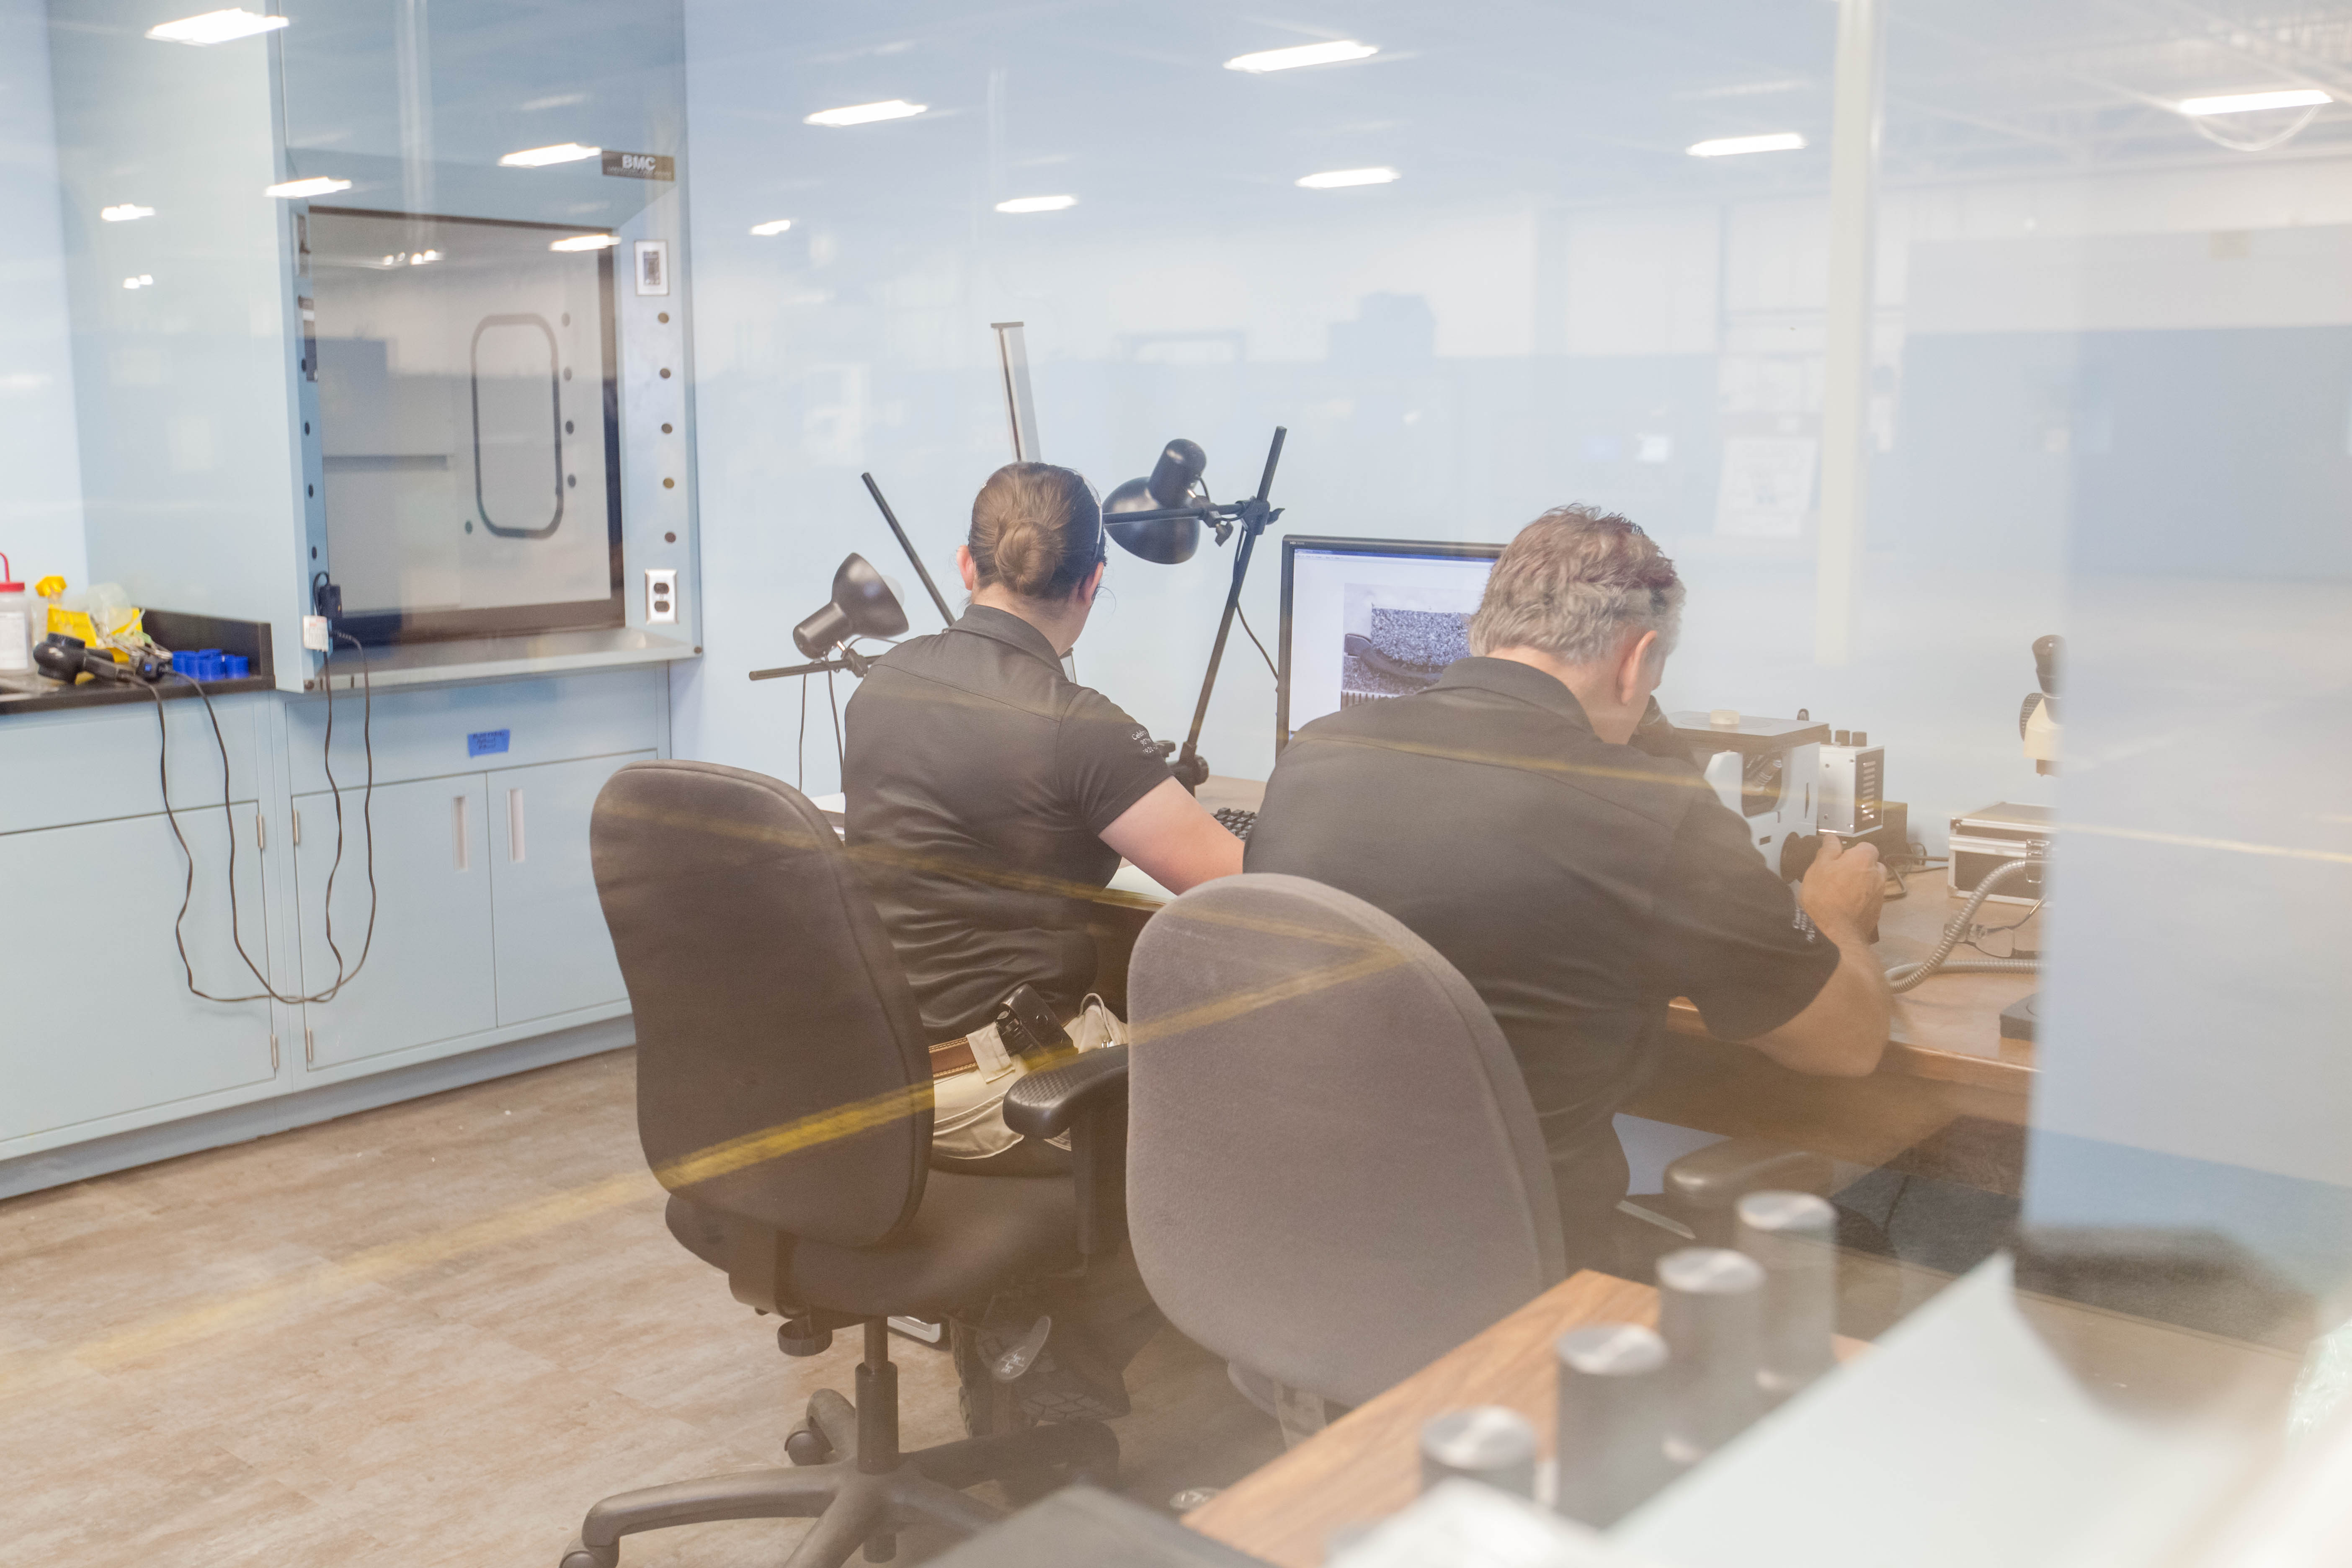
The whir of machines, the beep of a forklift— a manufacturing floor isn’t exactly a place you’d go to find some peace and quiet. But nestled among the hustle and bustle of MTI’s Manufacturing Services building, you’ll find a much quieter place; one that fosters thorough analyses and a methodical evaluation process that’s one part science, one part art.
Unlike many other friction welding companies, MTI has its own, in-house metallurgical lab with offerings in both our U.S. and UK locations.
Behind the doors of the lab, just feet away from a cluster of friction welding machines, our chief metallurgist flexes his decades of experience, utilizing a combination of equipment to test materials both before and after friction welding.
But how does a metallurgical lab operate? What purpose does each piece of equipment serve? And why is metallurgy so important to friction welding?
In this blog, we’ll explain why evaluating metals should be a priority, not a option, for your next project.
METALLURGY DEFINED
In the simplest of terms, metallurgy is a form of science that focuses on the properties of metals and how they interact with one another. Considering friction welding almost exclusively joins materials made of metal, it’s easy to understand why we place such an emphasis on metallurgy.
One of the key benefits of friction welding is the joining of dissimilar metals, a process that heavily relies on strong metallurgical knowledge to accomplish.
There is a lot you can learn about a metal simply by holding it in your hand and examining it with the naked eye, but there is plenty below the surface that requires special tools and knowledge to classify.
“We don’t assume anything,” says MTI Chief Metallurgist Jim Hoffman. “Even if we’ve dealt with the material before, it could be a different geometry or for a different application… and that’s why we always need to establish the parameters.”
WHEN IS METALLURGY USED?
In most cases, a customer defines the stage at which a metallurgical evaluation needs to be performed and exactly which tests need to be executed to verify material and weld strength. Therefore, the metallurgical lab works closely with the process engineer, who initially develops the weld.
“Some customers require that we do an analysis of the first weld for each production run of a test piece before we do a run,” Hoffman explains. “So we section a part to get a sample out for a bend test and macro examination.”
Bend test? Macro examination? What are those?
We’ll get to that. But first, we need to get our samples ready for testing!
PREPPING THE SAMPLES
When our metallurgical lab examines a part or material before or after welding, the full, finished product doesn’t necessarily need to undergo an evaluation — we just need a section of it.
To accomplish this, our metallurgist sends the material to our machine shop, which is conveniently located just steps away from the lab. There, we can cut the material to specification.
Certain evaluations may require us to first polish the material or mount it in bakelite — again, it’s all based on what the customer requests.
Now that our materials are ready for evaluation, we can take a closer look.
TYPES OF QUALITY TESTS
Manual Bend Test
A bend test is one of the most popular mechanical tests used in friction welding.
While there are machines designed to perform bend tests, often times, these tests can be executed manually with a wrench and a vise, as depicted in the clip above.
Each part and customer qualification is different, but typically, a sample should be able to bend a certain number of degrees without breaking.
Regardless of whether the sample ultimately breaks during the bend test, the material is later examined under a microscope to identify the location of where the sample broke or experienced the most stress.
If the sample does indeed break at the weld interface during the bend test, an MTI process engineer can review reference materials and adjust the friction welding process to improve the material’s characteristics at the weld interface.
Tensile Tester
Similar to a bend test, a tensile (tension) test is another way to evaluate the strength of a completed weld.
A tensile tester works by essentially stretching or pulling a welded sample to the point of breaking.
Once the test is complete, the metallurgist examines where the fracture occurred to determine if it was on the weld interface or in one of the materials.
MICRO EXAMINATION
As its name suggests, a micro examination involves the use of a microscope. In this evaluation, our metallurgist looks at a sample at a magnification of 50x or greater.
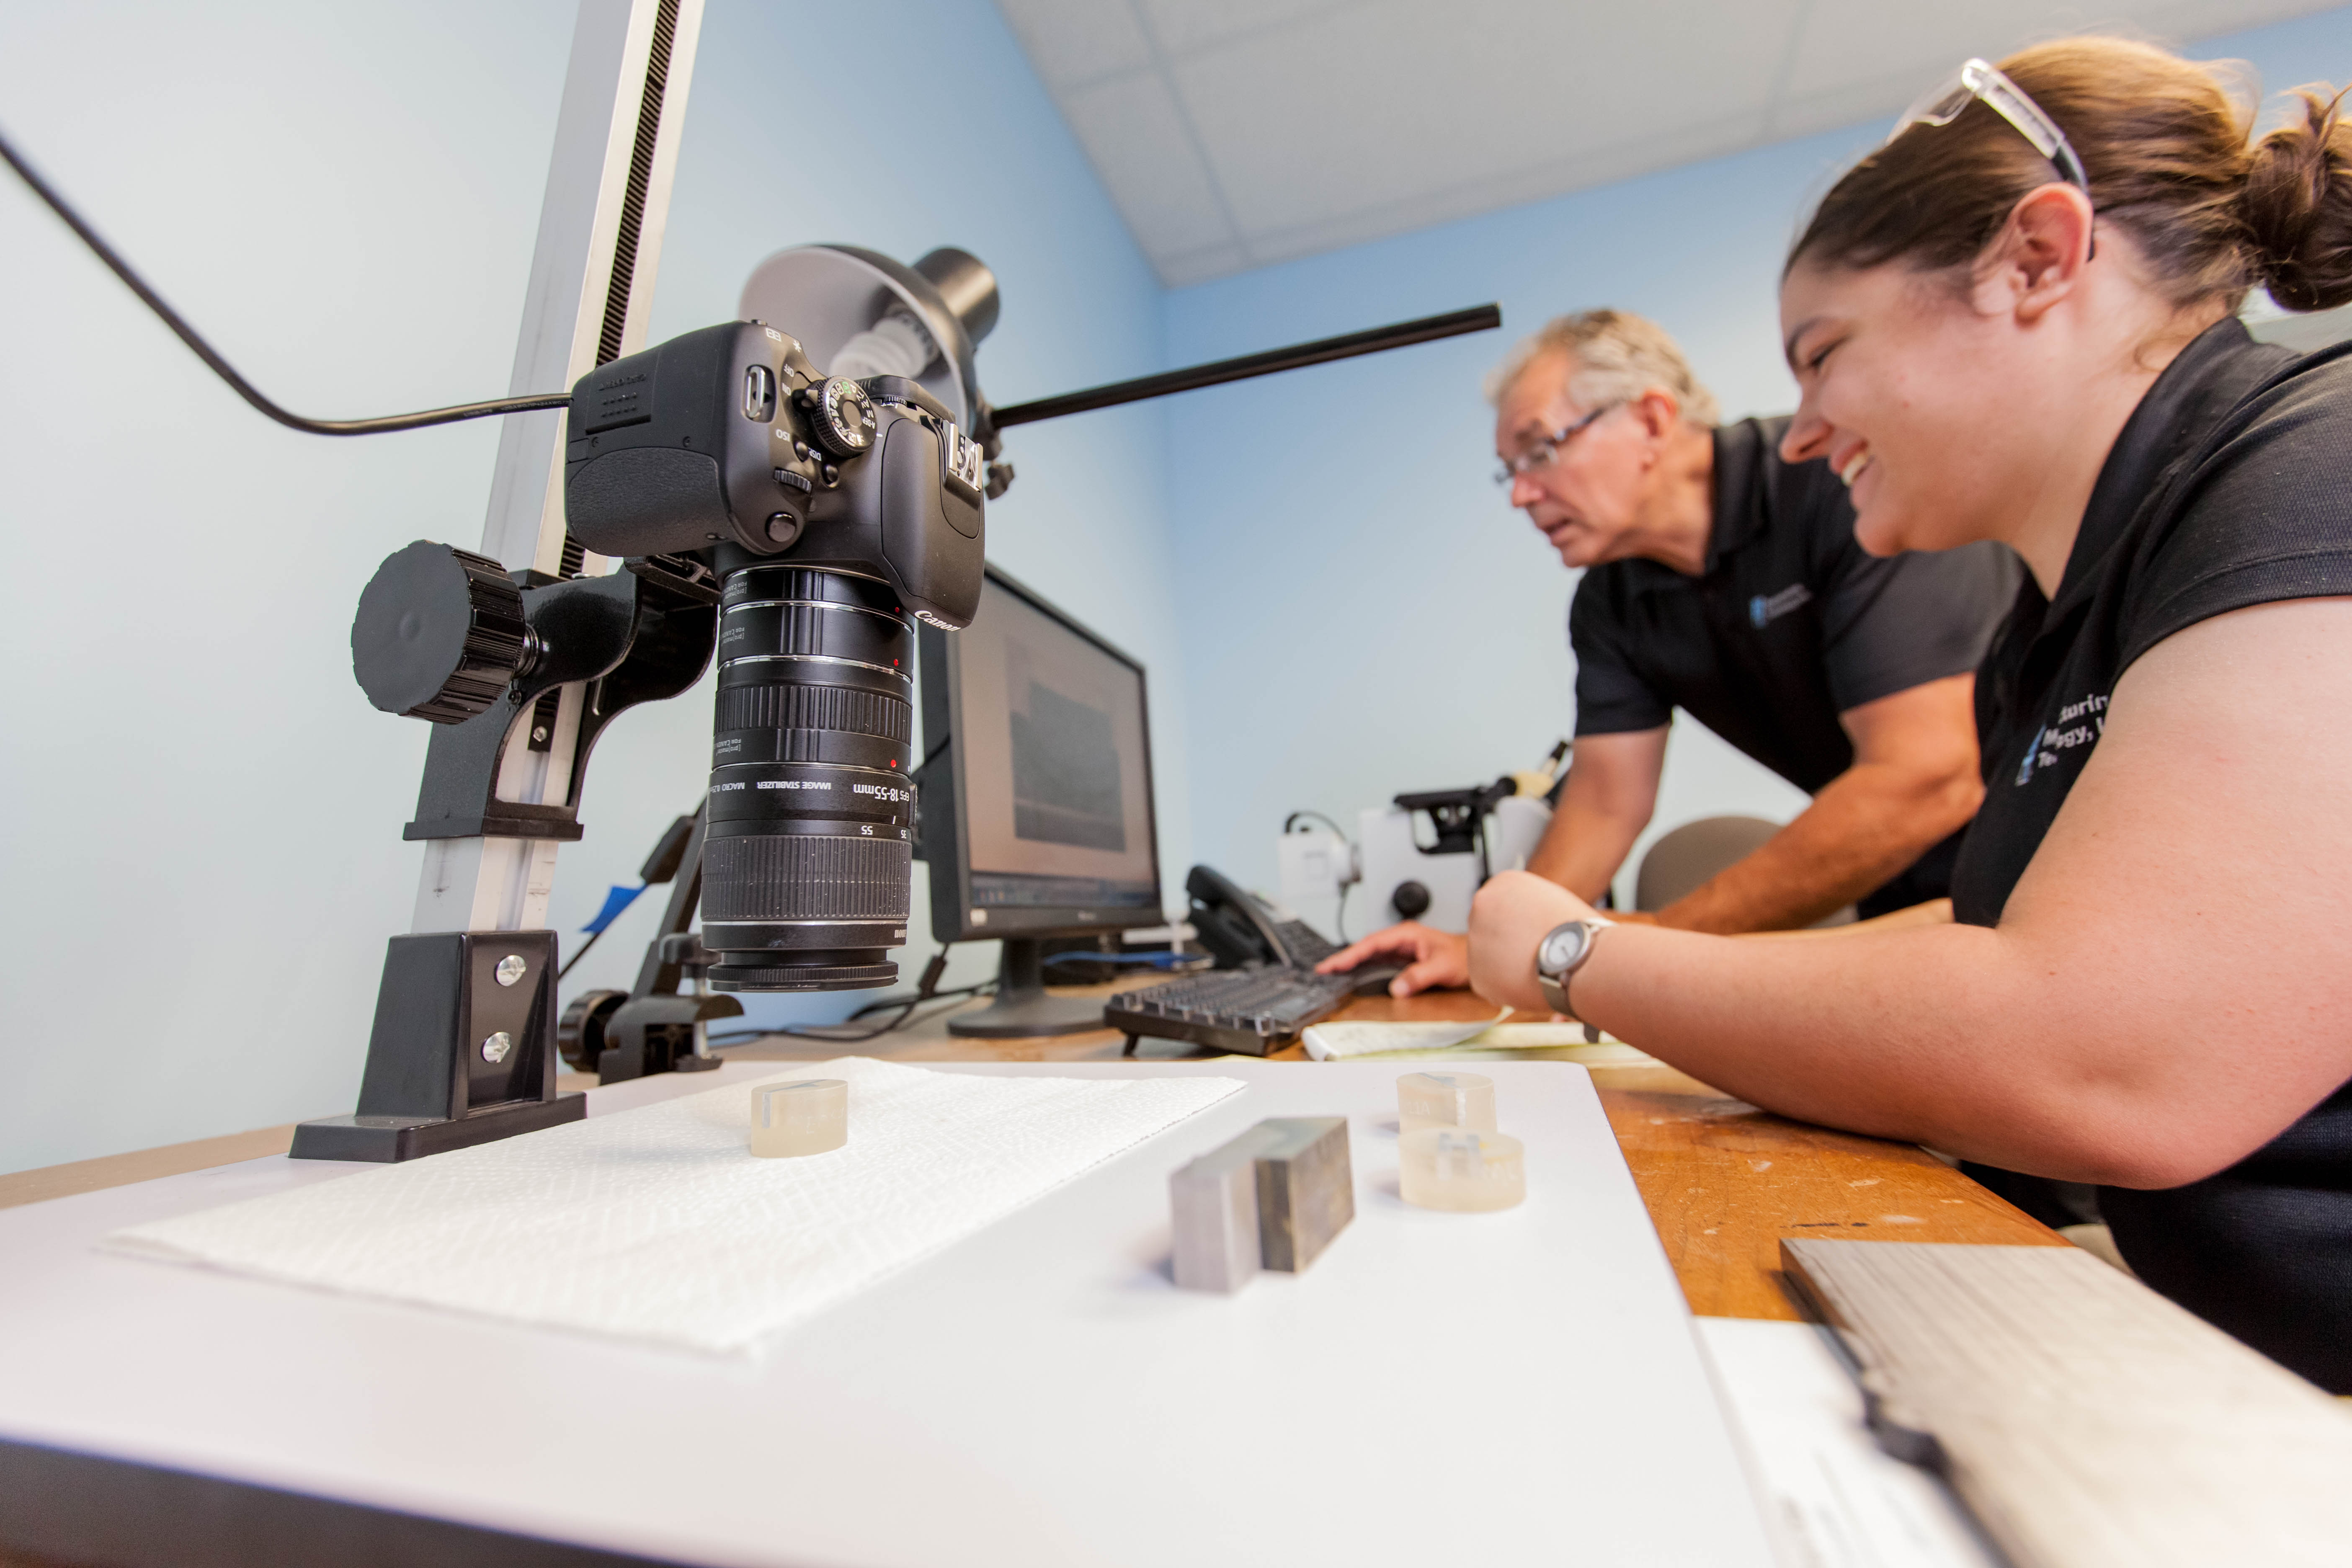
Samples being examined on Metallograph
In most cases, etching is performed on the sample to help reveal properties such as grain size, flow lines and whether any discontinuities are present along the weld interface.
In our lab, our microscope is attached to a camera (metallograph). This allows us to further analyze the structure or look at a certain phase of the material.
MACRO EXAMINATION
A macro examination involves viewing the material structure either at a low magnification or with no magnification at all. Polishing and etching are also typically performed prior to a macro examination.
HARDNESS TESTING
Another key indicator of material strength is its hardness, which is defined as a material’s ability to resist permanent indentation.
In our lab, samples can be evaluated on a Rockwell Hardness Tester or a Microhardness Tester.
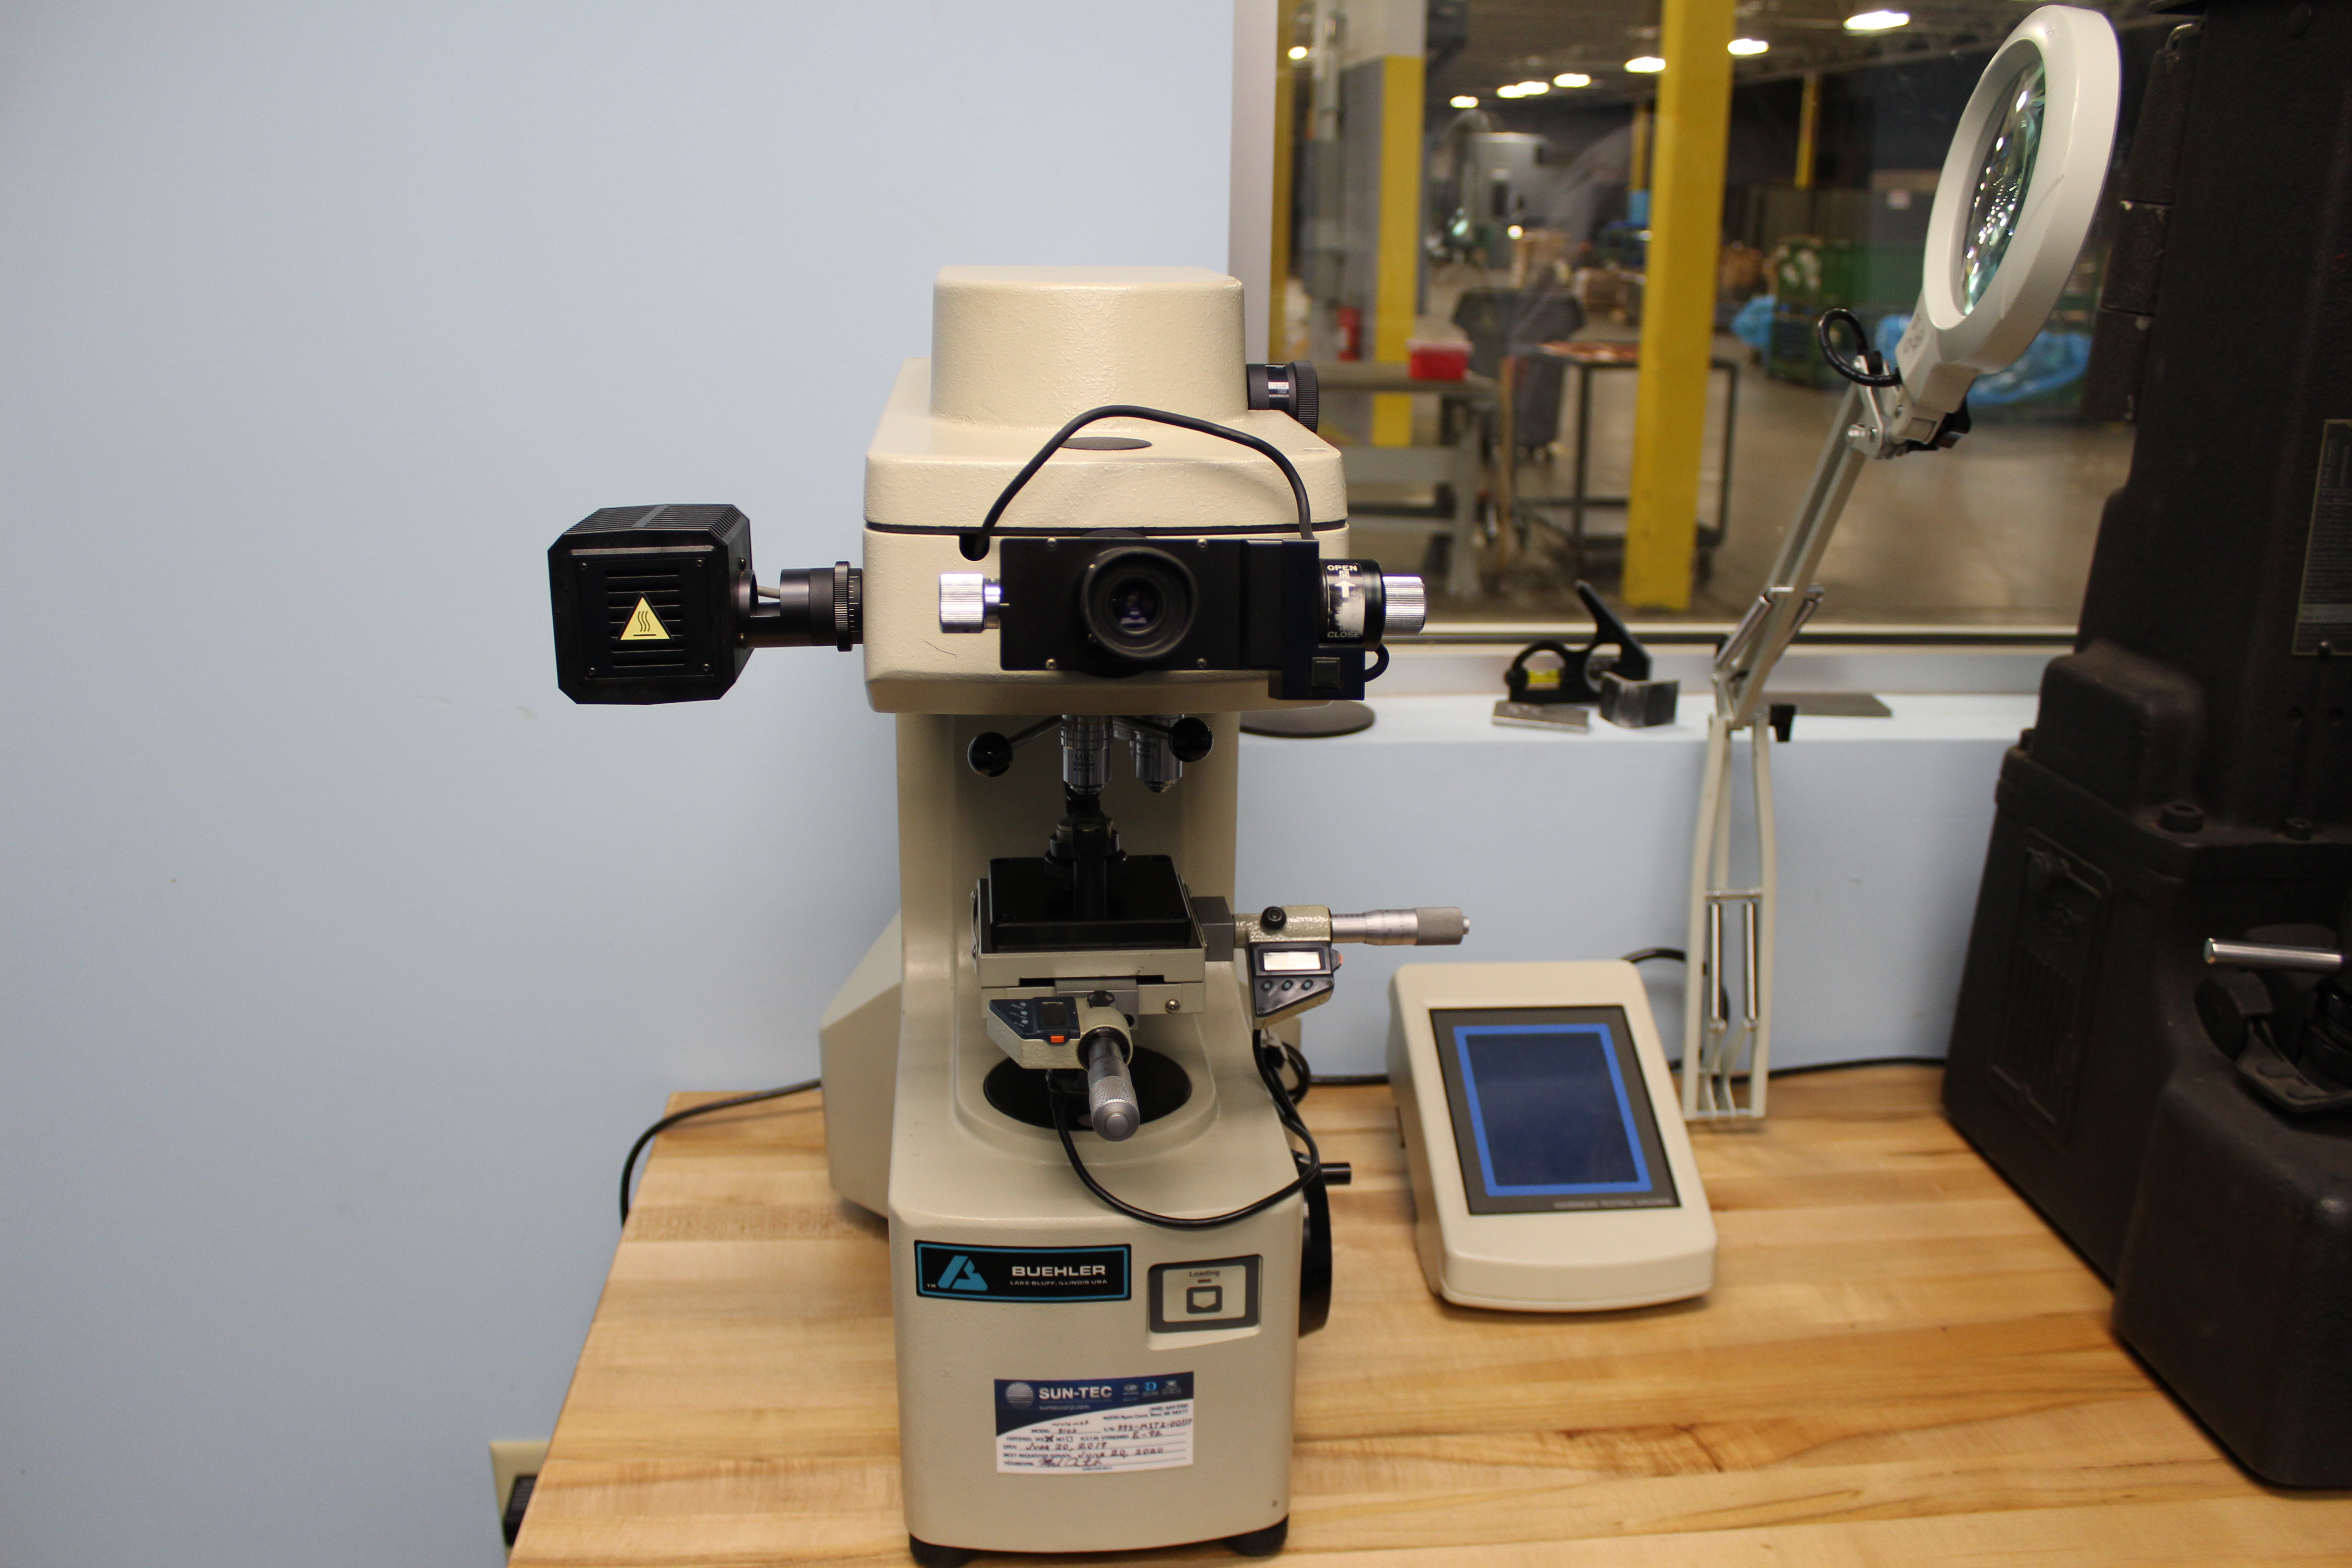 Microhardness Tester
On the Microhardness Tester, we can perform the Knoop or Vickers Hardness Tests at a number of different loads. The machine indents the materials with a diamond indenter.
On the Microhardness Tester, hardness measurements may be taken close to each other, such as 0.005″ apart, depending on the load used and material hardness.
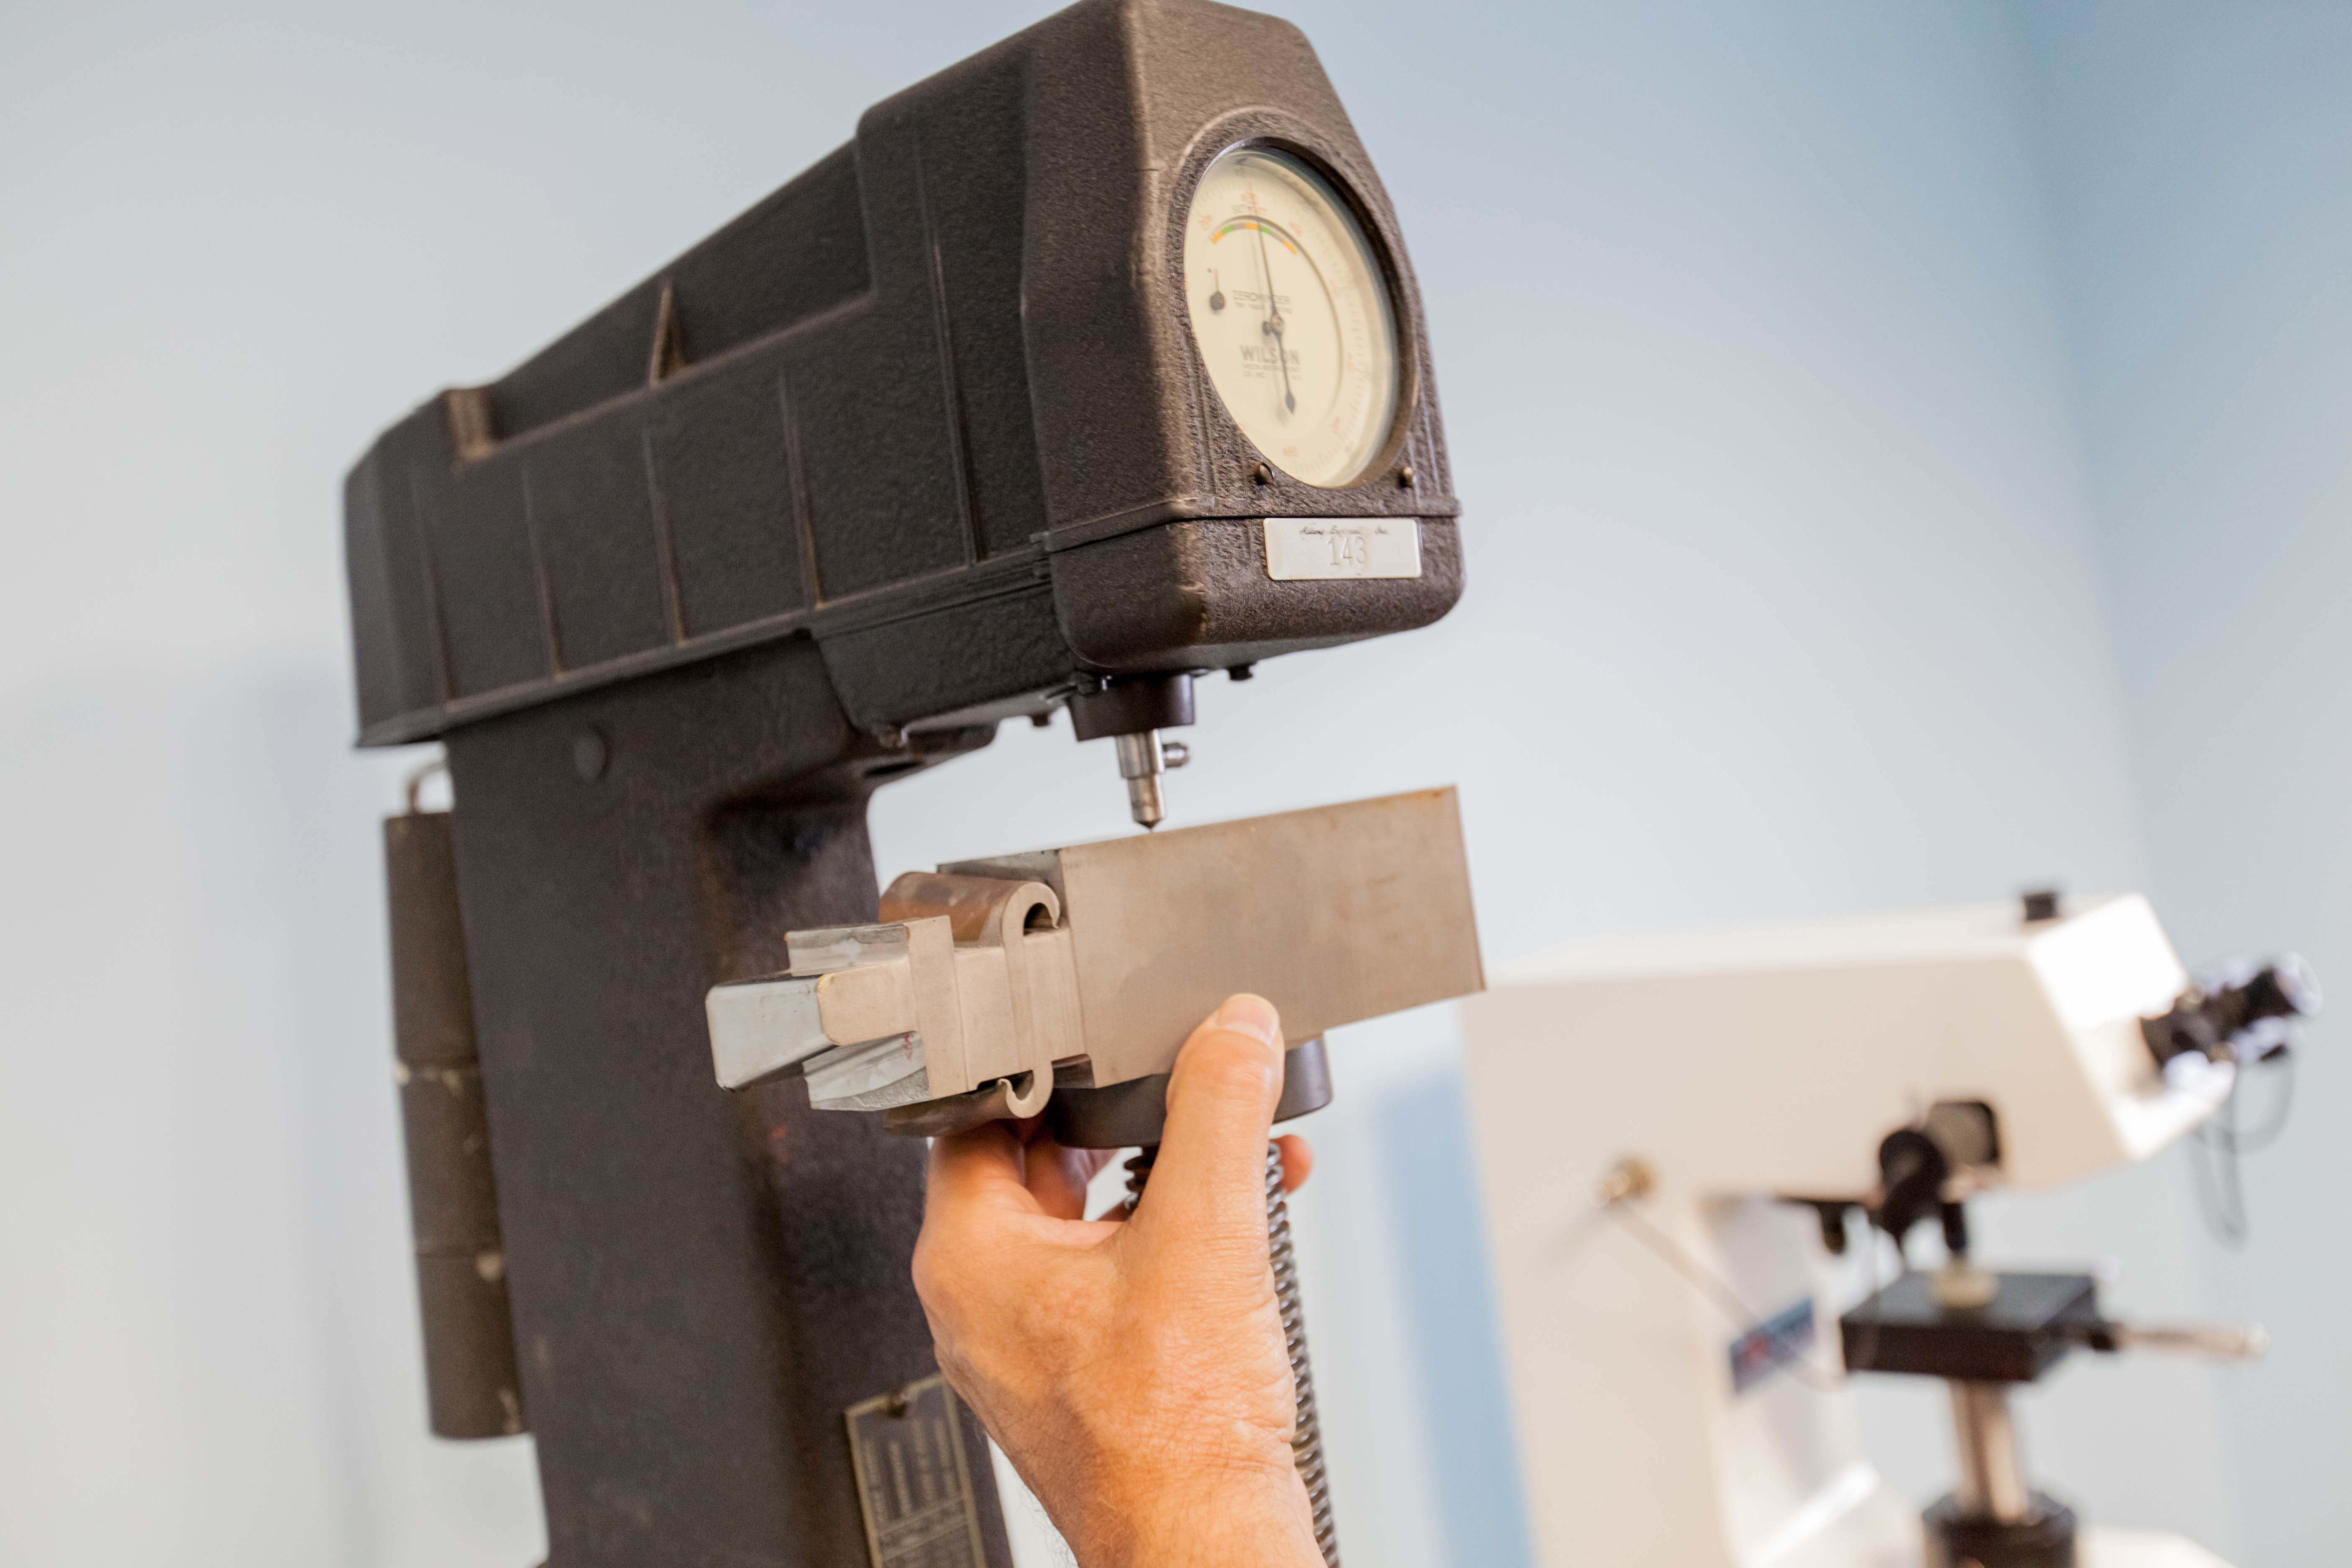
Rockwell Hardness Tester
Indentations on the Rockwell Hardness Tester are made with a greater load. Therefore, the indentations must be farther apart. The spacing depends on which scale is used and the hardness of the material.
THE TAKEAWAY
By now, you likely understand the power of metallurgy and the value it can bring to a friction welding project.
Choosing a friction welding provider with an in-house metallurgy lab not only provides you with more material insight, it can significantly cut down on lead times and shipping costs by eliminating the need to send samples to outside labs.
Even if friction welding isn’t right for your company, you can still take advantage of the advanced capabilities of our metallurgy lab.
Contact us today to begin your development work or to learn more about our metallurgical process.
